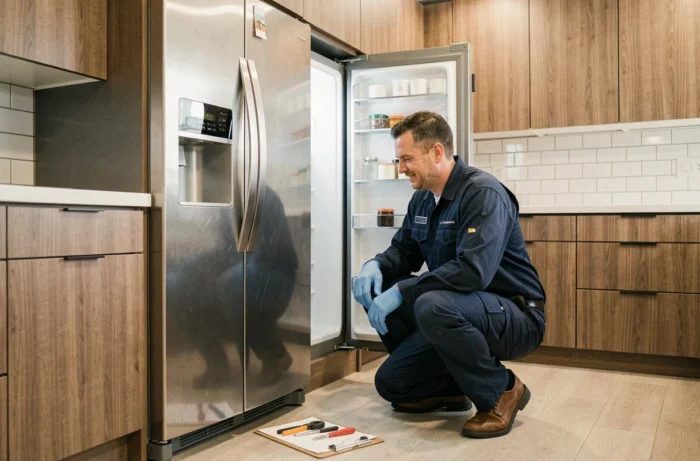
An American fridge that no longer cools, displays an unusual code, or makes abnormal noises puts your food at risk within hours. Before calling a repair technician, four successive checks can help isolate the cause in most cases. This ranking follows a logical order: from the quickest check (often overlooked) to the most technical test.
1. Reading error codes on the control panel
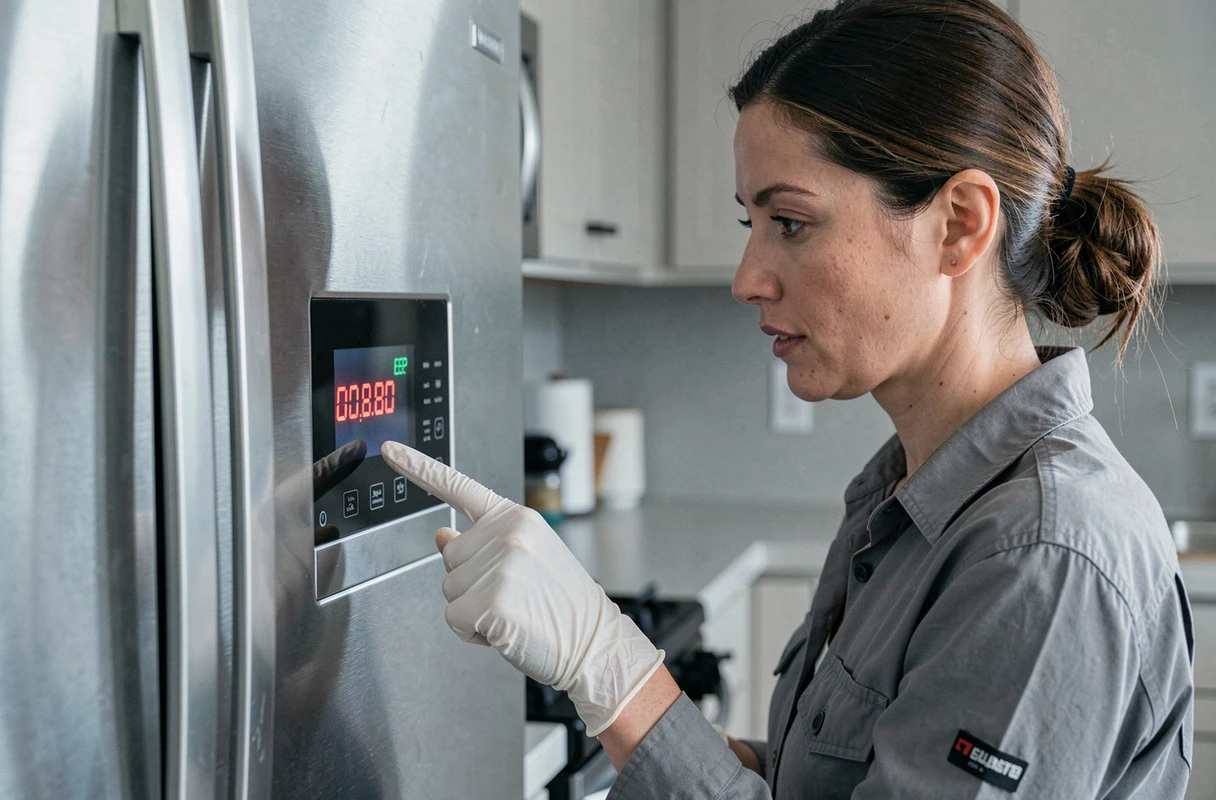
Have you noticed an unusual number or symbol flashing on your device’s screen? This message is not decorative. Manufacturers integrate diagnostic codes that directly point to the faulty component.
Codes like PC, PE, or 22E indicate a communication fault between electronic modules. Before any manipulation, the first action is to perform a reset: turn off the circuit breaker dedicated to the refrigerator for about twenty minutes, then turn it back on. This delay allows the electronic boards to reset.
If the code disappears and the device returns to normal operation, the failure was likely a temporary software bug. If the code reappears, note it precisely and consult the manufacturer’s manual. This record will also be valuable if you call a technician, as it significantly reduces troubleshooting time.
Performing a diagnosis of American fridge failure always starts with this reading of the panel, which avoids unnecessarily disassembling healthy components.
2. Checking the defrost circuit and the fan
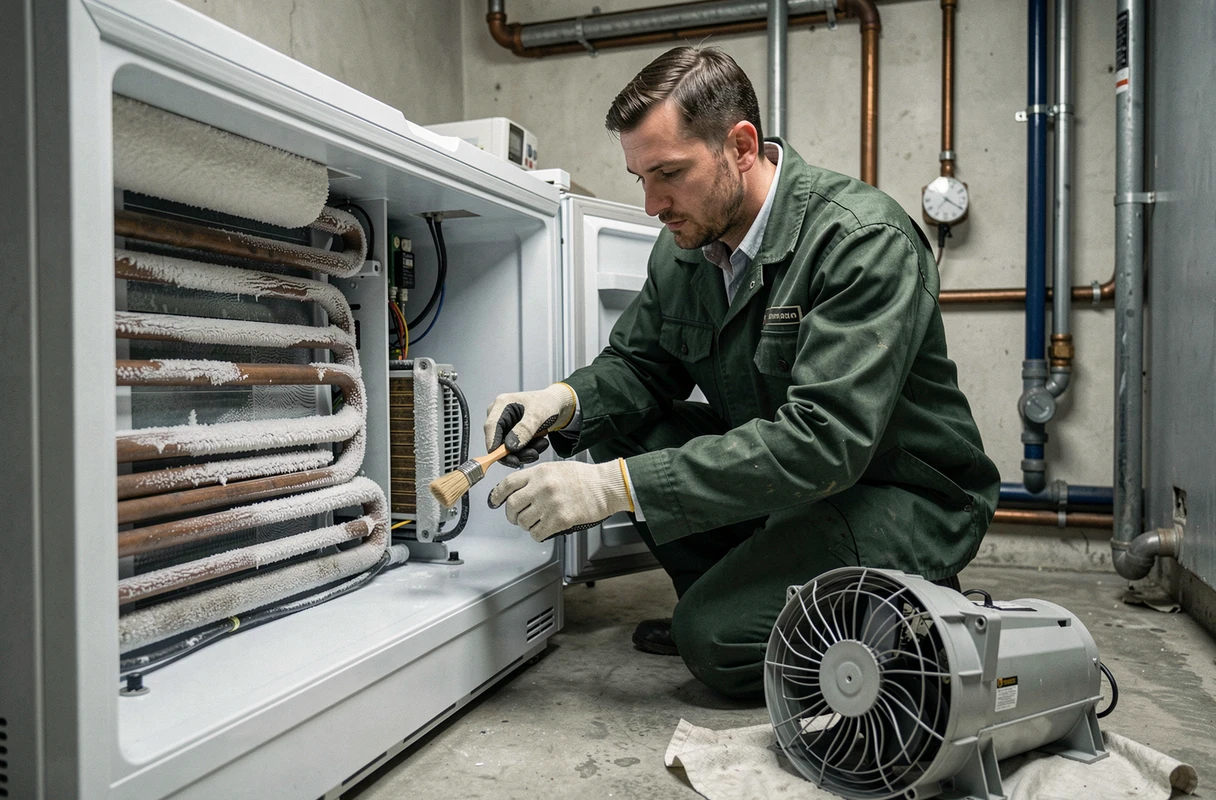
Your freezer is working properly, but the refrigerator side remains warm? On a ventilated model (almost all American fridges), the cold is produced in the freezer compartment and then pushed to the refrigerator by a fan. If this airflow is blocked, the temperature rises on one side without the compressor being at fault.
Excess frost on the evaporator prevents cold air from circulating. To check this, remove the inner back panel of the freezer. If the evaporator is covered with thick ice, the defrost heater or the thermal fuse may be faulty.
Before ordering a part, try a complete manual defrost. Unplug the device, leave the doors open for several hours until all the ice has melted, then plug it back in. If the temperature returns to normal for a few days before the frost comes back, the automatic defrost cycle is indeed the culprit.
- Defrost heater: it heats periodically to melt the frost. A multimeter set to ohmmeter mode can check its continuity.
- Thermal fuse: this safety component cuts off the heater in case of overheating. If it is blown, the defrost will not trigger at all.
- Evaporator fan: if it does not turn when the freezer door is closed, the cold remains trapped. Listen for a humming sound when you manually press the door switch.
The trio of heater-thermal fuse-fan covers most failures of “warm fridge, OK freezer”.
3. Testing the compressor with a multimeter
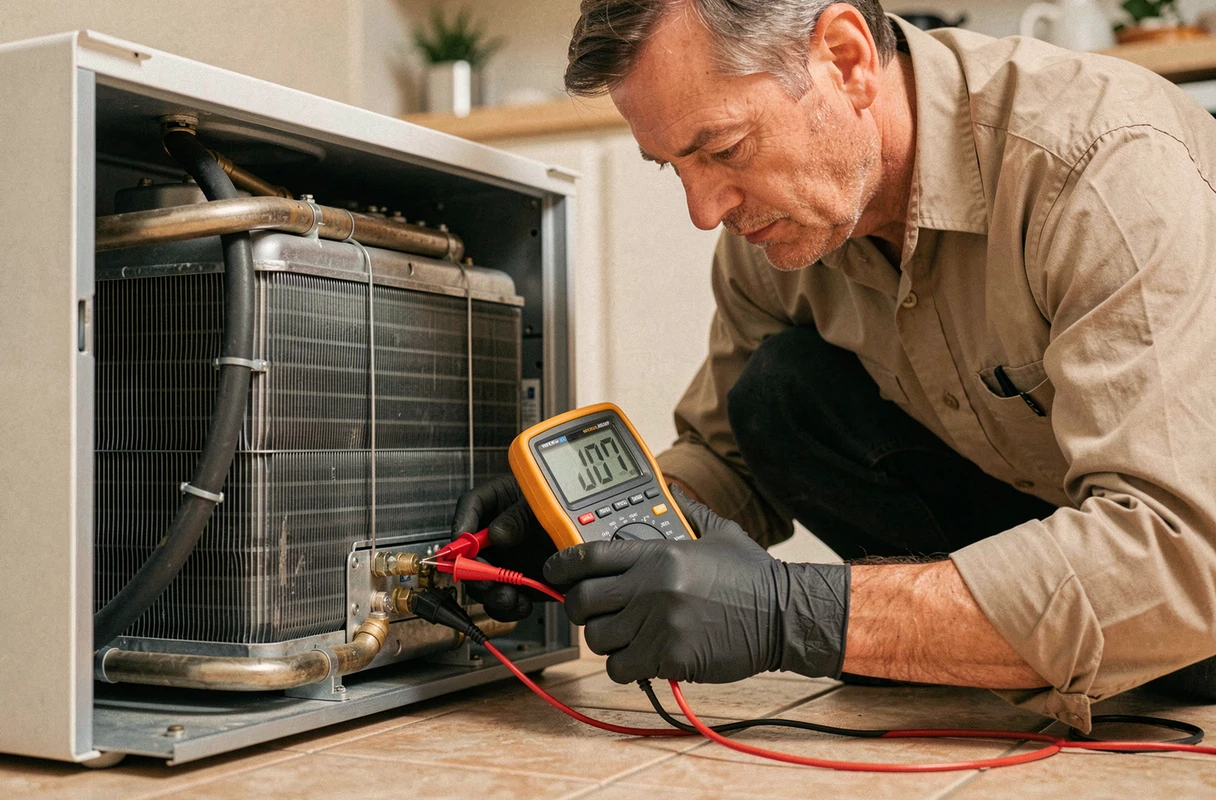
If the first two steps yielded no results, the compressor comes into the diagnostic field. It is the motor of the refrigeration circuit: it compresses the refrigerant to produce cold. A faulty compressor often manifests as a silent device or a repetitive clicking followed by a stop after a few seconds.
To test it, unplug the fridge and access the compressor (at the bottom, at the back). Locate the three terminals: C (common), R (run) and S (start). With a multimeter set to ohmmeter:
- Measure the resistance between C and R, then between C and S, then between R and S.
- The sum of the resistances C-R and C-S should be close to the resistance R-S. A significant discrepancy or an infinite value indicates a broken winding.
- Then test the insulation: place one probe on each terminal and the other on the metal casing of the compressor. Any continuity between a terminal and the ground indicates a short circuit, and the compressor must be replaced.
This test requires only a basic multimeter, but it involves handling an unplugged device and correctly identifying the terminals using the diagram attached to the compressor or available in the model documentation.
4. Checking the nameplate before replacing a part
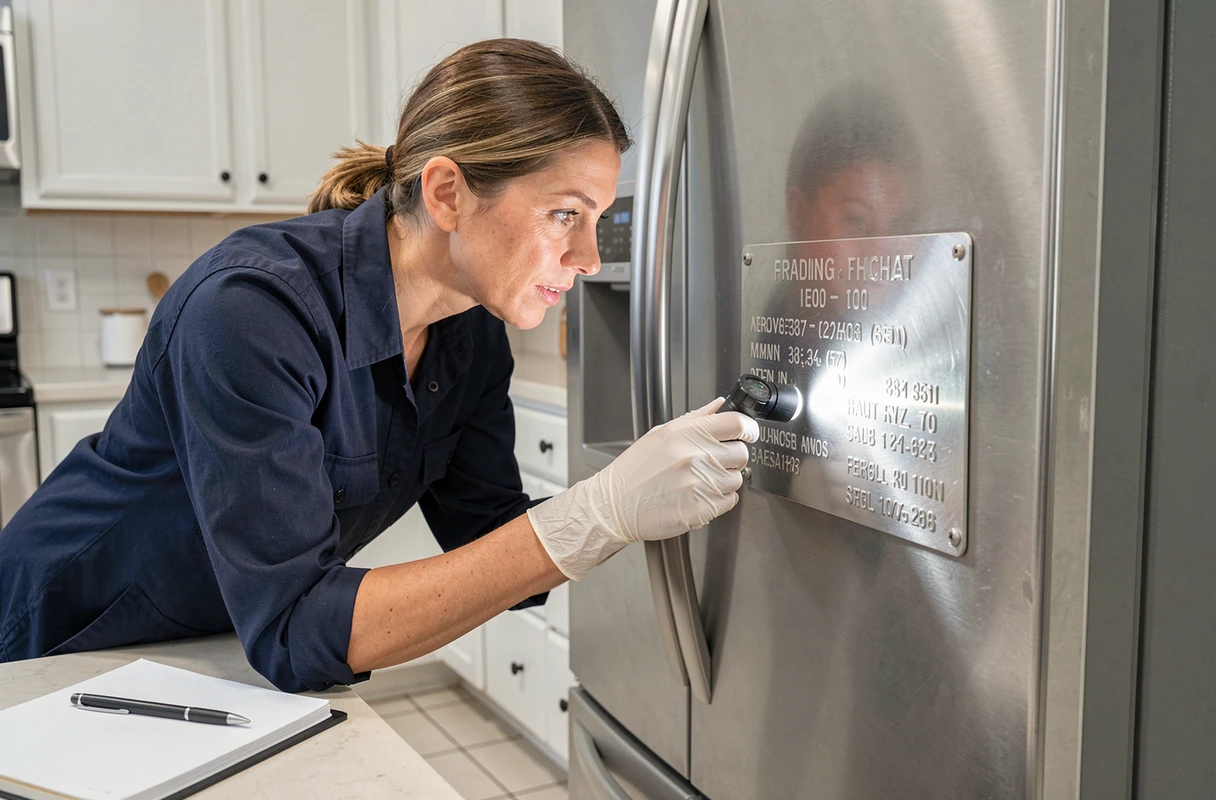
You have identified the faulty component. One step remains that many overlook: check the exact compatibility of the replacement part. Ordering a solenoid valve, a probe, or a thermal fuse “that looks like” the original is not enough.
The nameplate of your refrigerator (usually stuck on the left inner wall or behind the door) indicates the precise model, serial number, type of refrigerant used, and nominal voltage. This information determines which part references are compatible.
Why this precaution? The same manufacturer may use different components from one series to another, even if the external appearance of the fridge is identical. A solenoid valve designed for another model may have an unsuitable flow rate or coil voltage, which will cause a new failure or damage the power board.
Note the exact model and serial number before ordering any part. Compare these references with those indicated on the supplier’s product sheet. This check takes two minutes and avoids a costly round trip.
A methodical diagnosis, from the control panel to the nameplate, allows you to address most common failures of an American fridge without professional intervention. If the compressor shows a short circuit to ground or if the power board is blown, call a qualified appliance repair technician to safely handle the refrigeration circuit.