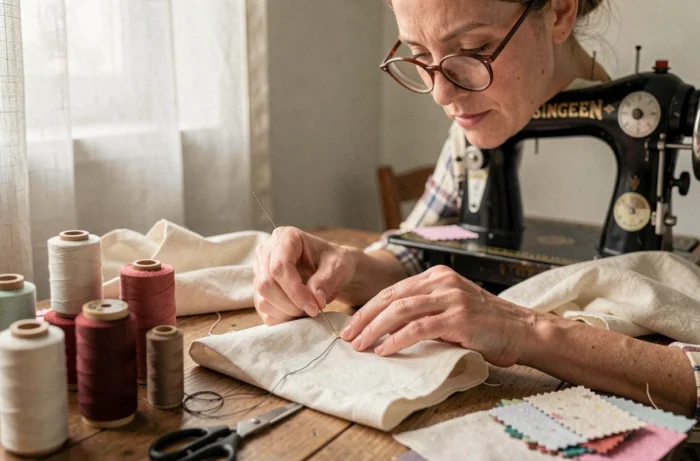
A buttonhole that gapes after a few washes, threads that unravel at the first button’s pull: the problem rarely stems from a lack of technique, but rather from a series of small details overlooked before, during, and after sewing. Creating a sturdy buttonhole without cutting the threads relies on fabric preparation, choosing the right thread, and targeted reinforcements that most tutorials gloss over.
Reinforcing the fabric before sewing the buttonhole
Have you noticed that a buttonhole holds better on a shirt collar than on a lightweight blouse? The difference lies in the local rigidity of the fabric. On thin or soft fabric, the slit of the buttonhole concentrates all the mechanical tension on just a few square millimeters.
The most reliable solution is to fuse a piece of interfacing (fusible interfacing) to the wrong side of the fabric, exactly where the future buttonhole will be. The interfacing prevents the fabric from distorting under the pull of the button. Choose a weight that is dense enough for the fabric in question: too light, and it stabilizes nothing; too thick, and it creates a visible bulk on the right side.
To apply the interfacing, place it with the adhesive side against the wrong side, cover it with a damp cloth, and press the iron without sliding it. The adhesion should be uniform. If you feel the interfacing lifting when gently pulling a corner, start over with a higher temperature or a longer pressing time.
By following the Bergère de France tips for buttonholes without cutting threads, you will find that this preparation step is consistently emphasized, whether working with knitting or classic sewing.
Overcasting and bartacks: reinforcements that change longevity
The buttonhole stitch (or overcasting stitch) forms a small loop along the edge of the slit that protects the raw edge of the fabric. On a machine, this stitch is sewn automatically. By hand, you need to stitch perpendicular to the slit, passing the thread under the needle’s tip and tightening regularly to achieve a line of closely spaced loops.
Densifying stitches rather than lengthening the slit
Tight and regular stitches provide better protection than a long buttonhole with spaced stitches. If your machine offers a width and density adjustment for the zigzag stitch, reduce the gap between stitches before starting to sew. On newer machines with an automatic buttonhole foot, the adjustment is often made via the stitch length: the shorter it is, the closer the stitches will be.
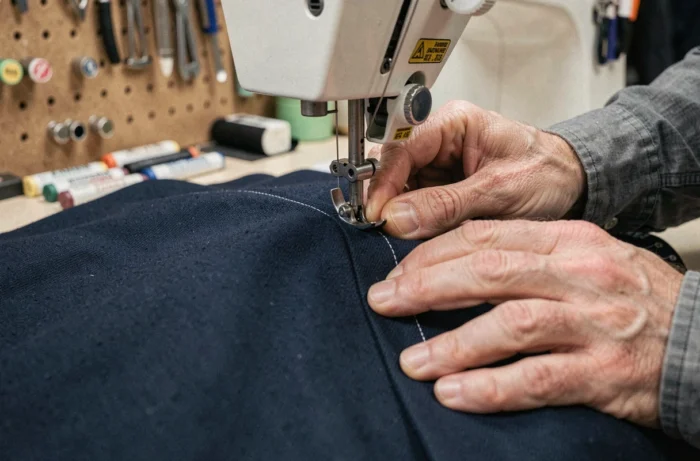
At both ends of the buttonhole, the area is even more stressed. This is where bartacks come into play, those small reinforcing bars sewn perpendicular to the slit. The machine automatically creates them at the end of the cycle, but check that they cover the entire width. Incomplete bartacks are the leading cause of threads breaking at the ends.
Reinforcing a buttonhole by hand for added strength
On a heavily used garment (coat, work jacket), sewing a row of tight overcasting stitches over the machine stitches extends the life of the buttonhole. This hand topstitching is done with a fine needle and matching thread. Start at one end, stitch through the existing bartack, then follow the slit, spacing each stitch less than a millimeter apart.
Thread, needle, and tension: the technical trio often misadjusted
A thread that breaks during sewing or unravels after a few uses almost always indicates a compatibility issue between the thread, the needle, and the machine tension.
- Polyester thread withstands repeated abrasion from the button better than cotton thread. For a durable buttonhole, opt for a good quality polyester thread that is slightly thicker than that used for assembly seams.
- The needle must match the fabric: a universal 80 needle is suitable for medium fabrics, but a thick fabric (denim, wool) requires a 90 or 100. A needle that is too fine bends under pressure and produces uneven stitches.
- The upper thread tension is usually set between 3 and 5 on most home machines. If the loops of the overcasting stitch are visible on the right side, the tension is too low. If the thread breaks, it is too high. Test on a scrap of the same fabric, interfaced with the same interfacing.

Opening the slit without weakening the buttonhole stitches
The slit is cut after sewing, not before. This is a simple reflex, but the opposite is a common mistake among beginners. Sewing around an already opened slit prevents the fabric from remaining stable under the presser foot.
To open the buttonhole cleanly, insert a pin across just in front of the bartack at each end. The pins serve as a stop for the seam ripper and protect the reinforcing stitches. Slide the tip of the seam ripper into the center of the slit and push towards one pin, then towards the other. On a fabric that frays easily, apply a tiny drop of fray check product on the raw edges after opening.
This product temporarily stabilizes the cut fibers, but it does not replace well-tightened buttonhole stitches. Consider it a safety net, not a primary solution.
Knitted buttonhole without cutting thread: a different logic
In knitting, the buttonhole is formed by creating a space in the row (yarn over + knit two together) rather than cutting. The advantage: no thread is cut, so no raw edge to protect. The fragility lies elsewhere, at the level of the stitches framing the opening.
To reinforce them, knit the two stitches adjacent to the buttonhole by twisting them (knitted through the back loop). A twisted stitch tightens the structure and limits the widening of the slit over time. If you add a buttonhole after finishing your project, open a stitch with a tapestry needle, then reinforce the opening with a row of overcasting stitches in matching thread.
The strength of a buttonhole, whether in sewing or knitting, relies on three choices made even before the first stitch is taken: a stabilized fabric, a thread suitable for mechanical stress, and targeted reinforcements at the ends. The technical gesture comes afterward, and it forgives a lot when the preparation is correct.